

This is the series of articles about how to setup free own mailserver on OCI.
- Free Mail Server on OCI – Oracle Cloud Account
- Free Mail Server on OCI – Your Domain Name
- Free Mail Server on OCI – IPv4 Address, PTR
- Free Mail Server on OCI – Data Block Volume
- Free Mail Server on OCI – Virtual Cloud Network
- Free Mail Server on OCI – Compute Instance
- Free Mail Server on OCI – Swapfile
- Free Mail Server on OCI – OCFS2
- Free Mail Server on OCI – Docker, Cron, Certbot
- Free Mail Server on OCI – Docker-Mailserver
How to create Oracle Cloud Account and basic setup you can find in this article.
How to link your Domain Name to OCI you can find in this article.
How to reserve public IPv4 address and setup PTR in OCI you can find in this article.
How to create and link Data Block Volumes to OCI you can find in this article.
VCN (Virtual Cloud Network)
VCN can be created automatically with your VM instance, but I create it separately, so you will see the details and the process, pretty straightforward. More details about Oracle VCNs you can read here.
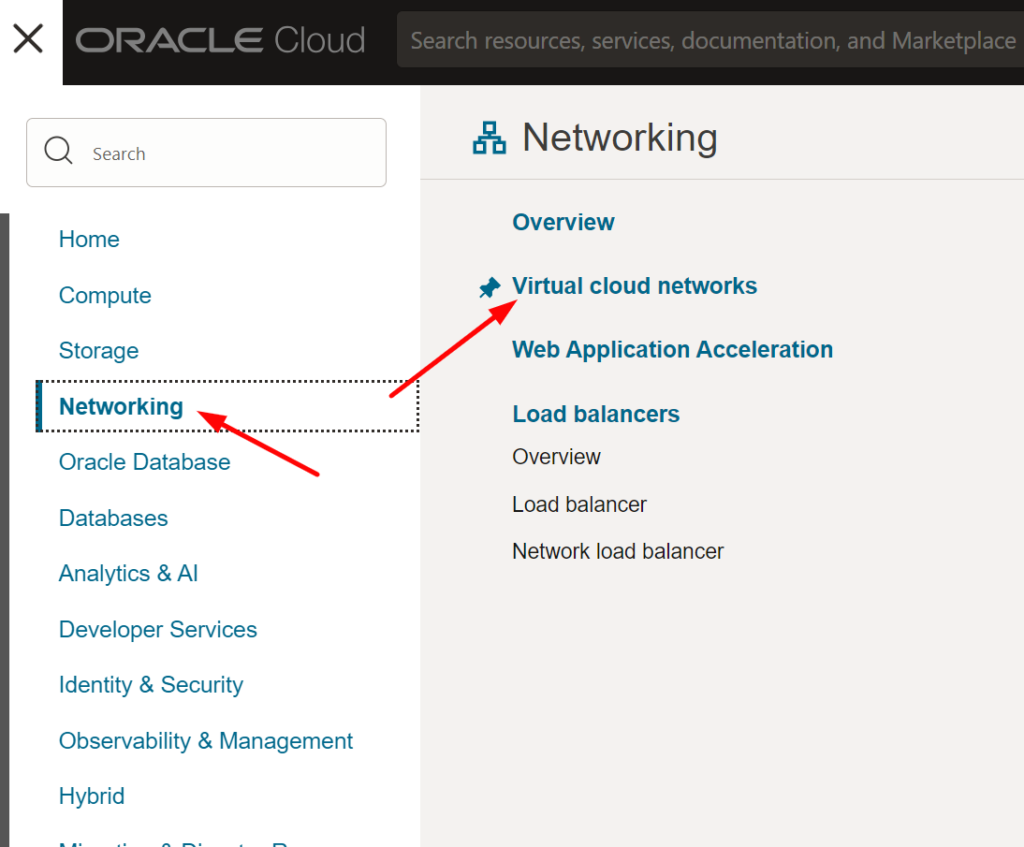
Go to Networking -> Virtual cloud networks:
Click on Start VCN Wizard button (select Create VCN with Internet Connectivity), you should see the Wizard page:
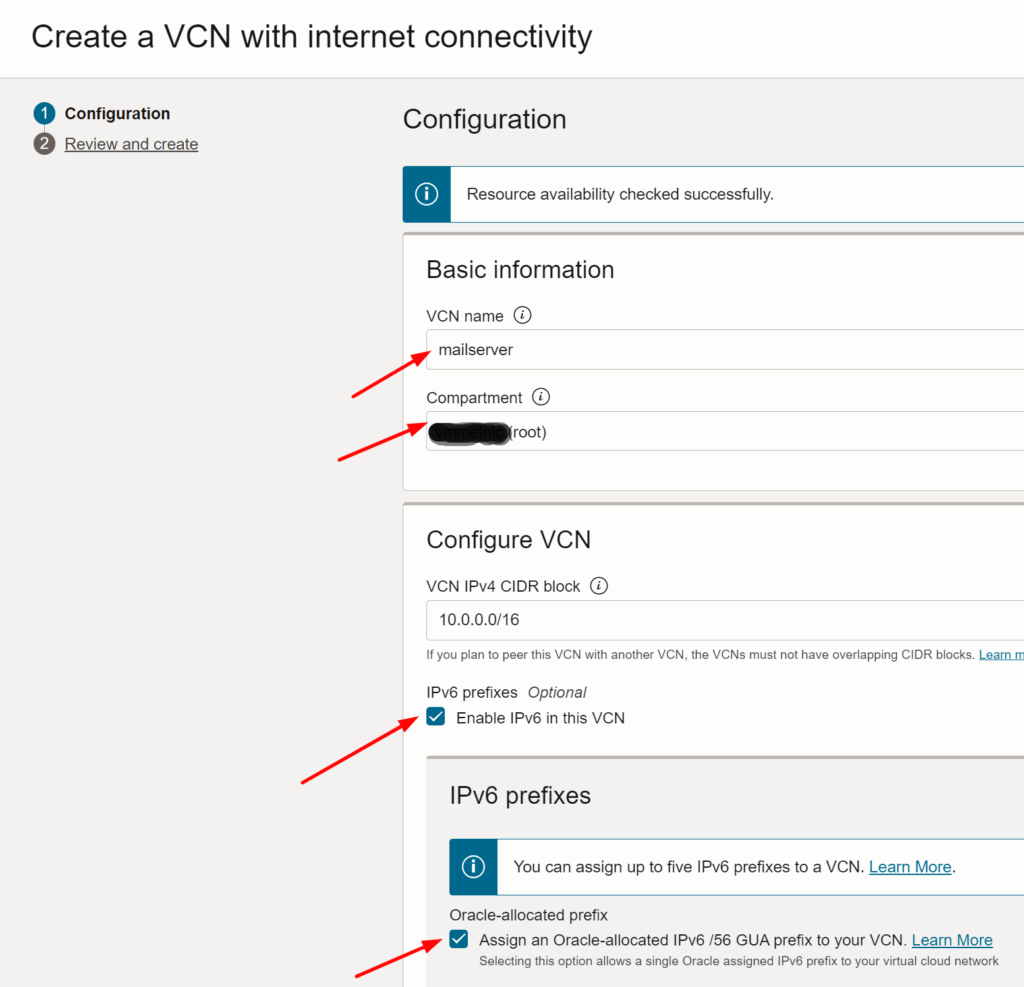
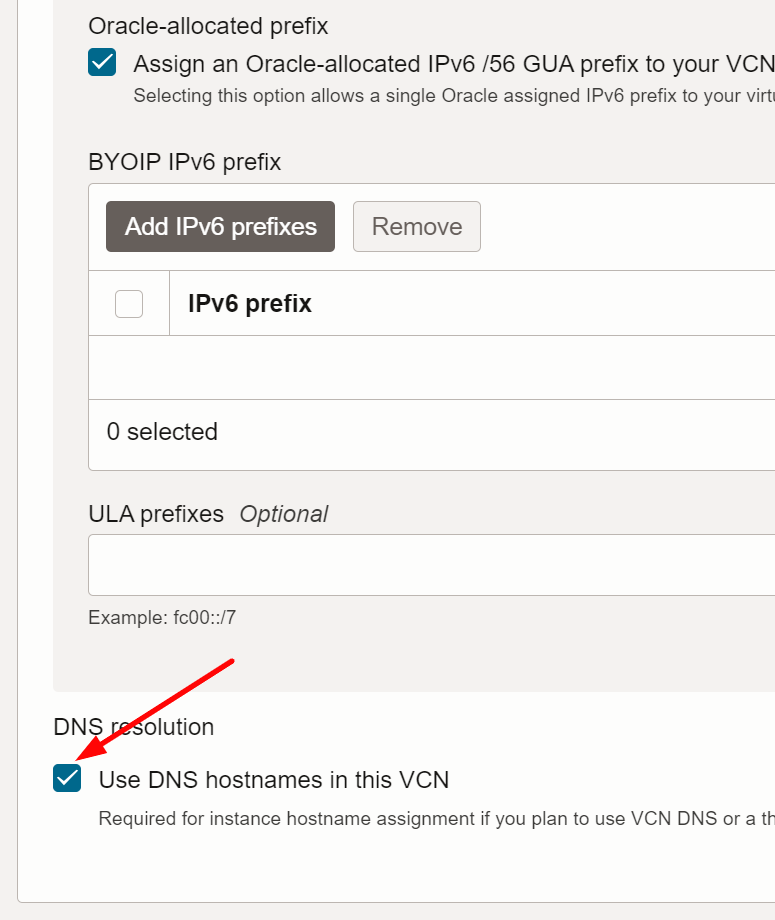
Choose the name of your VCN, select the Compartment (or leave it as is – root). If you plan using IPv6 tick the checkboxes as shown on the screenshot above. Tick DNS Resolution checkbox, For the rest you can leave all parameters by default (or change it if you know what you’re doing):
Click on Next button, you should see the Overview page, check all the details and click on Create button at the bottom of the page. Your VCN will be created, along with the VCN the following OCI resources will be created as well:
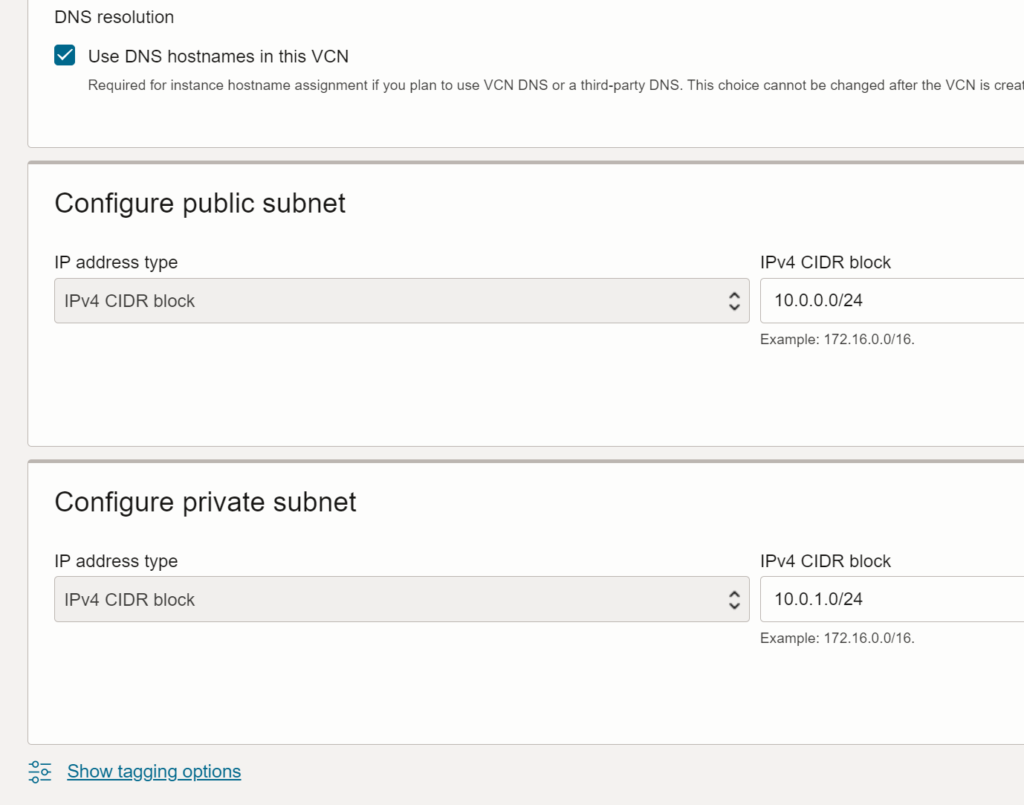
- Public Subnet
- Private Subnet
- 3 Gateways (Internet, NAT and Service)
- 2 Security Lists (default for VCN and one for private subnet)
- 2 Route Tables (default for VCN and one for private subnet)
IPv6
Once your VCN is created you can now assign IPv6 (if you chose to use those), click on three dots at the right side of each subnet and click on Edit:
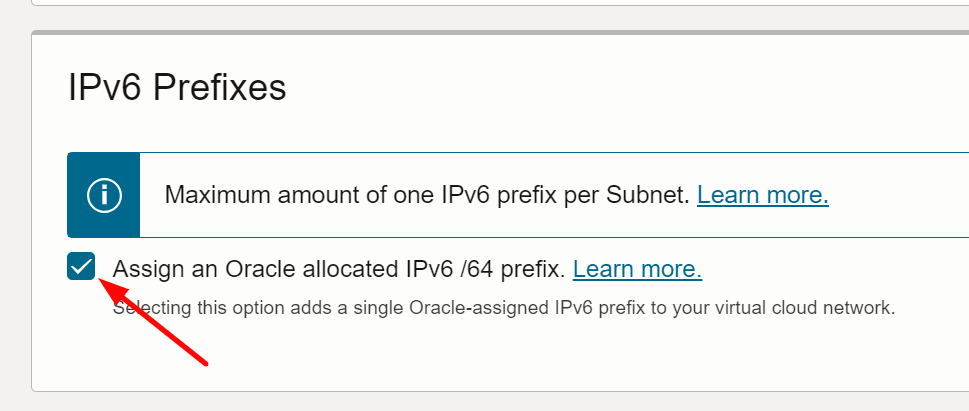
Tick the checkbox as shown on the screenshot above and click on Save Changes button.
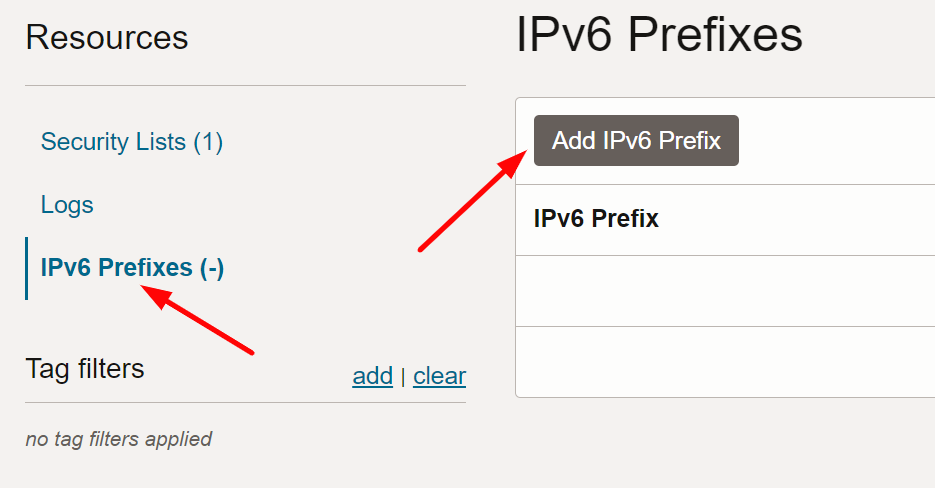
Go to each of your subnet, click on IPv6 Prefixes (bottom left) and click on Add IPv6 Prefix button:
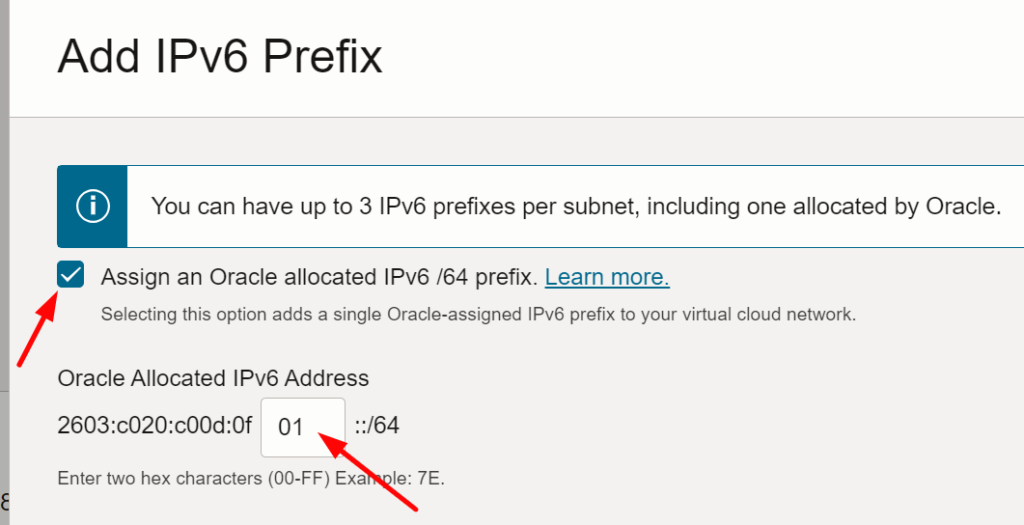
Tick the checkbox Assign an Oracle allocated IPv6 /64 prefix, enter two hex characters (00-FF) and click on Add IPv6 Prefix button:
After this we should have everything to be able to create an Oracle Compute Instance virtual machine with all software we need for our Mail Server, follow this article.
Leave a Reply
You must be logged in to post a comment.