

This is one of the series of the articles about hosting WordPress (any) website on Google Cloud completely (or almost) FREE of charge.
- Overview
- Google Cloud
- Cloud Run. Part 1
- Compute Engine. Part 1
- Cloud Run. Part 2
- Compute Engine. Part 2
Let’s create an account in Google Cloud Platform (GCP) and discover some features of the Cloud technologies offered by Google, one of the world leaders in this area.
Create Google Cloud Account
By creating the Google Free Cloud account you create a google account.
If you already have Google Account I would recommend to open this link in incognito mode of your browser (Google Chrome for example), otherwise feel free to open it in normal mode.
Click on Get Started for free button, you should see the Sign in page:
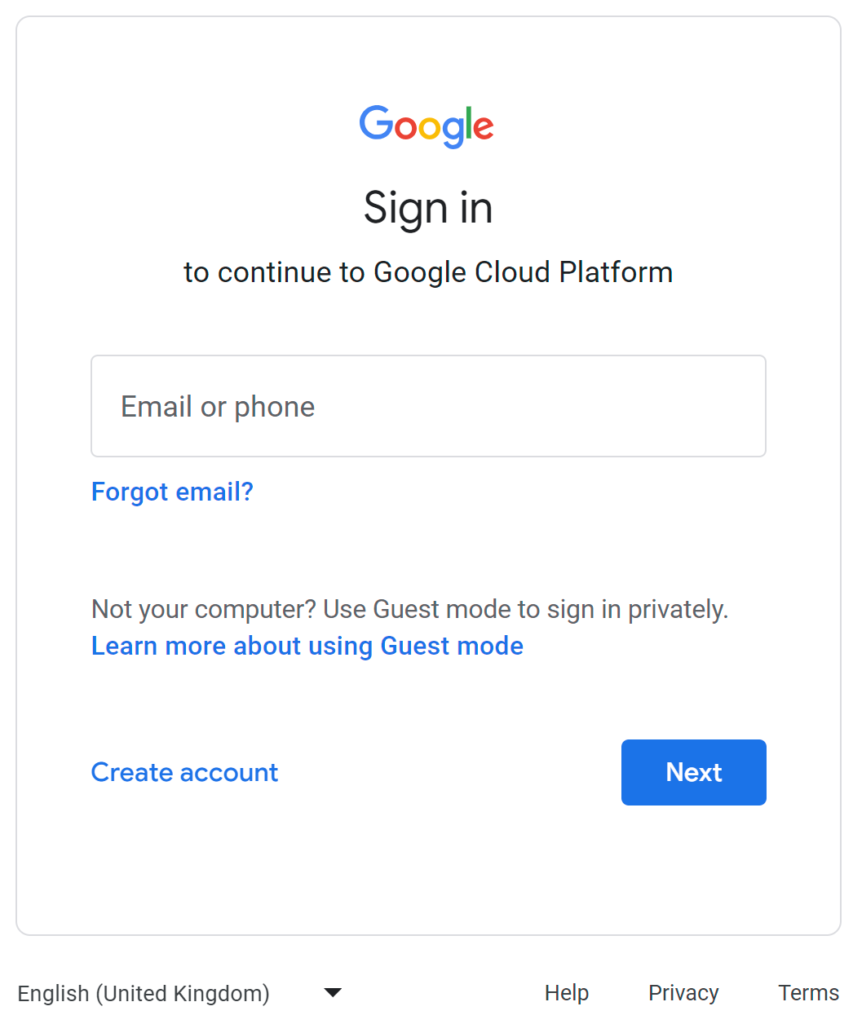
Click on Create account button, you should see the dropdown menu with the following options:
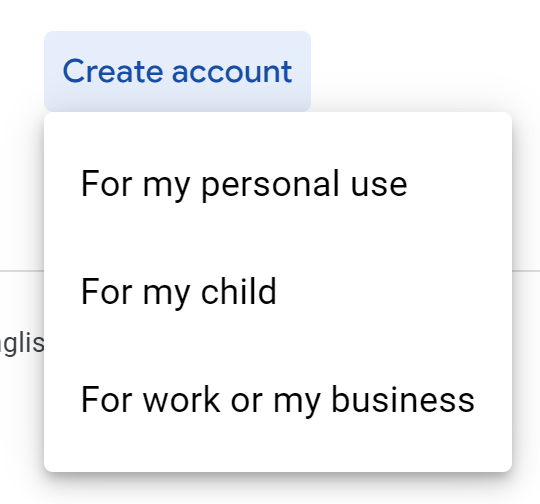
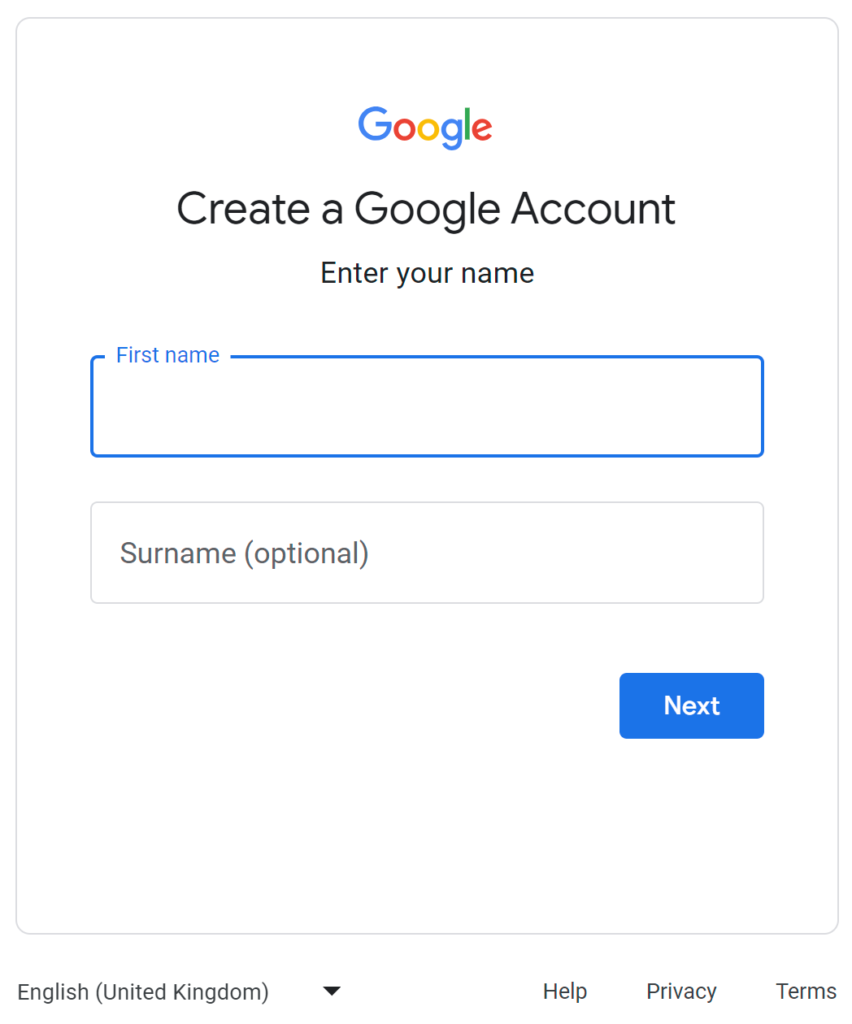
If you want to try for yourself choose For my personal use. When you select For my personal use Google won’t create an Organization for your Google Cloud account, so the Organization will be No organization. Then type your First name and Surname (if you wish):
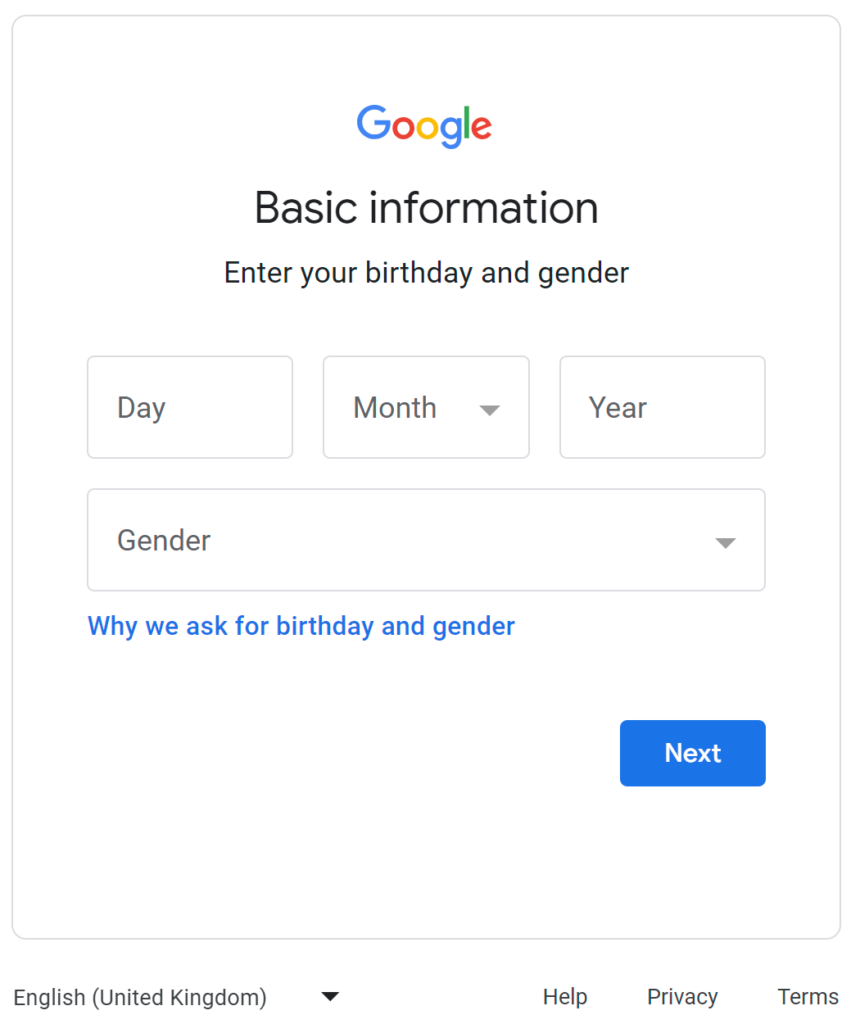
Type your Birthday and select your Gender:
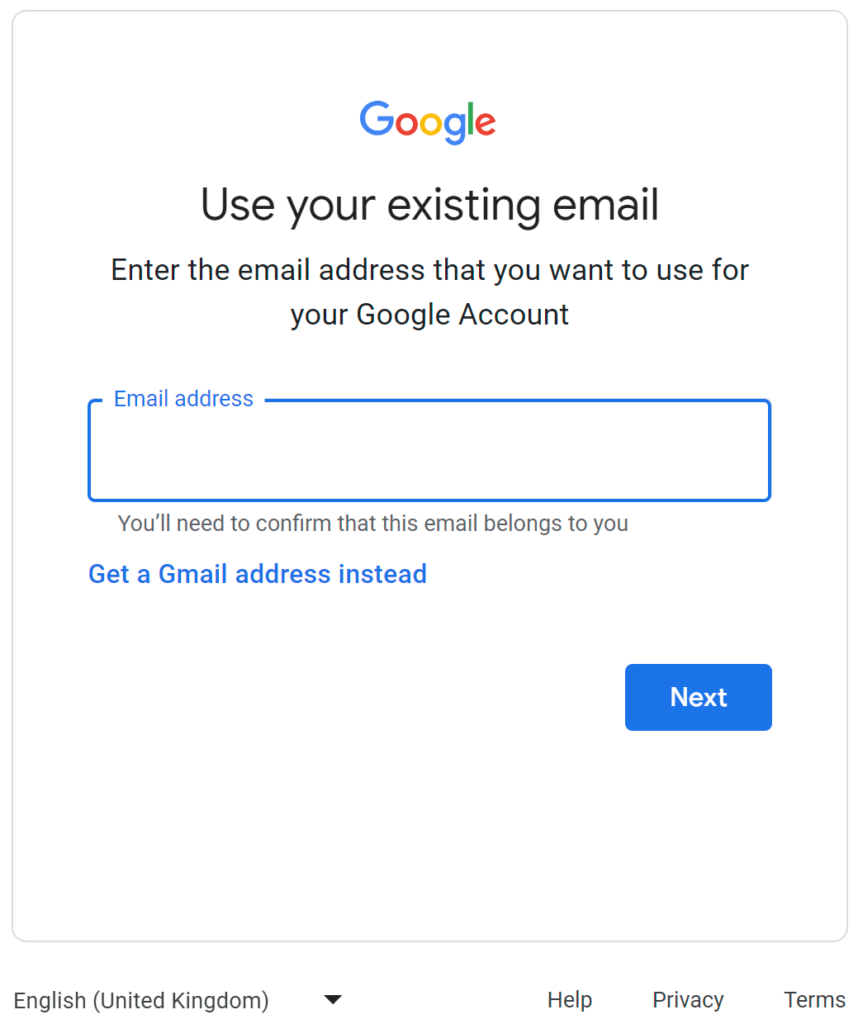
Then type your email address:
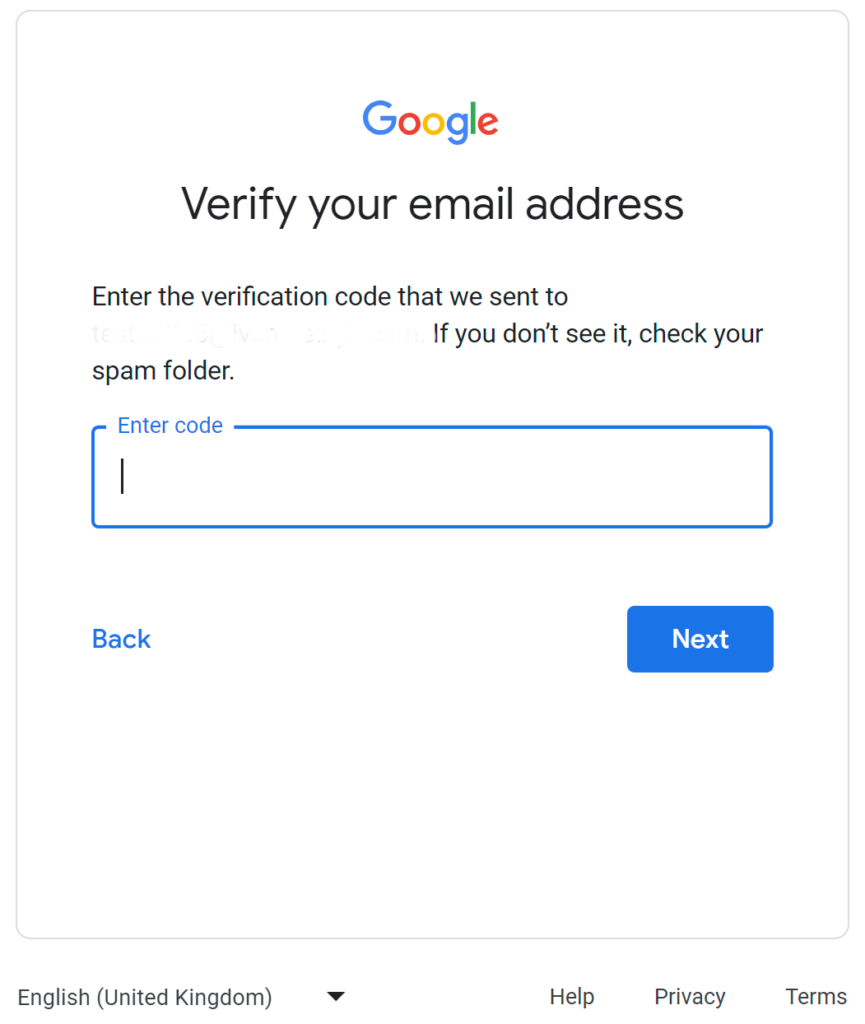
Enter the verification code Google sent on your email address:
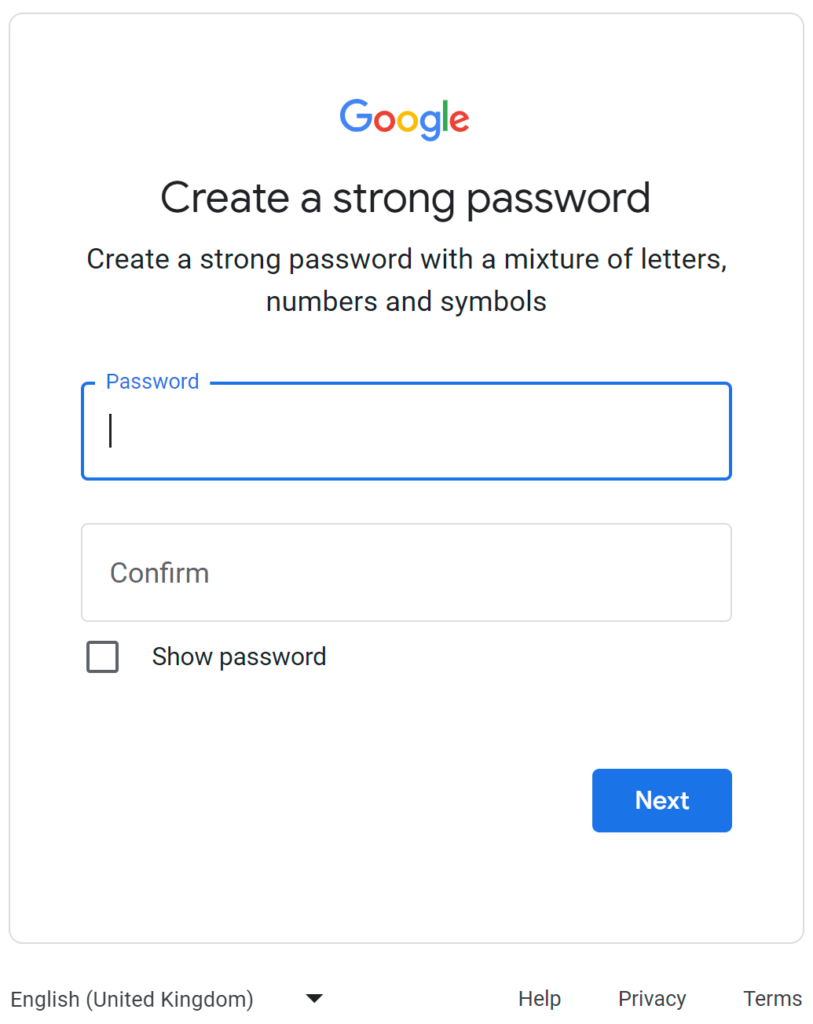
Type your password, click Next button:
There will be a step for Google account Settings, complete the step, it is not related to the Google Cloud platform we going to use, but to your normal Google Account. Next you should see something like this:
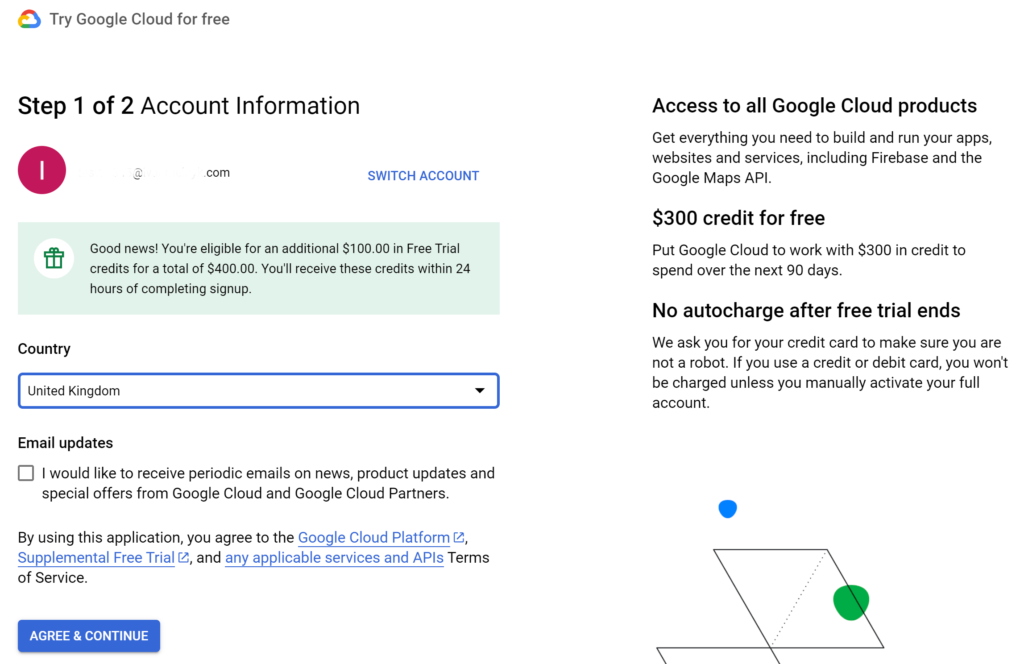
After clicking on AGREE & CONTINUE button you will see the Payment Information Verification page:
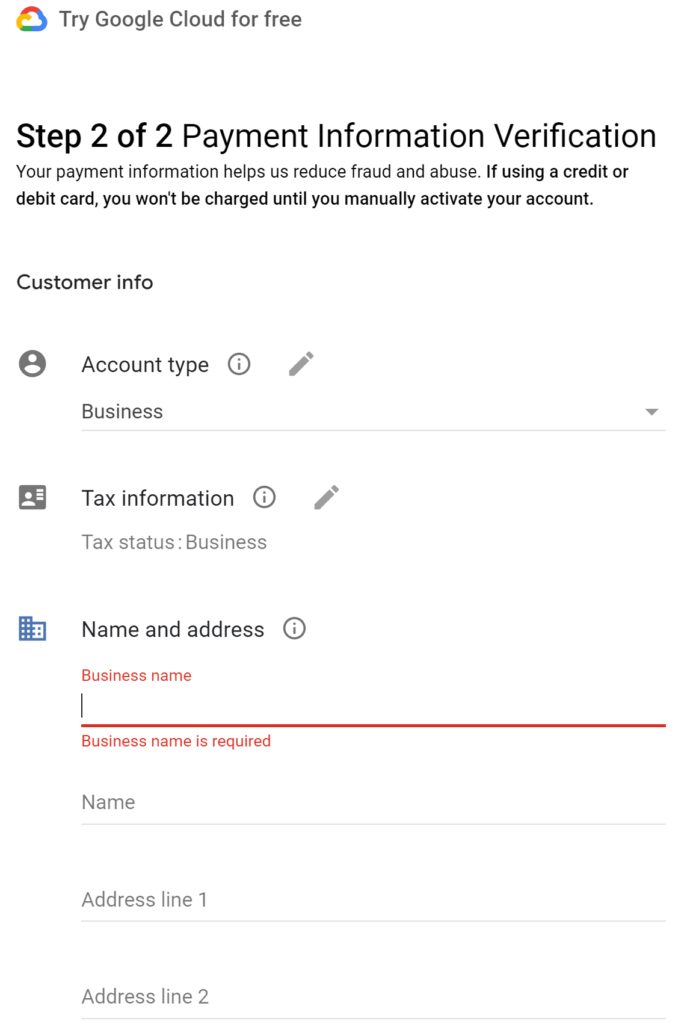
In Account type I selected Individual because I’m just testing for myself, if you’re using it for your Business you should select Business. In the Name and address fields enter your real name and address as it is used for your debit/credit card, since Google will verify these data against your payment details. In the Payment method fields enter your debit/credit card and click on START FREE button.
Verify it’s you
Then you should see this pop up:
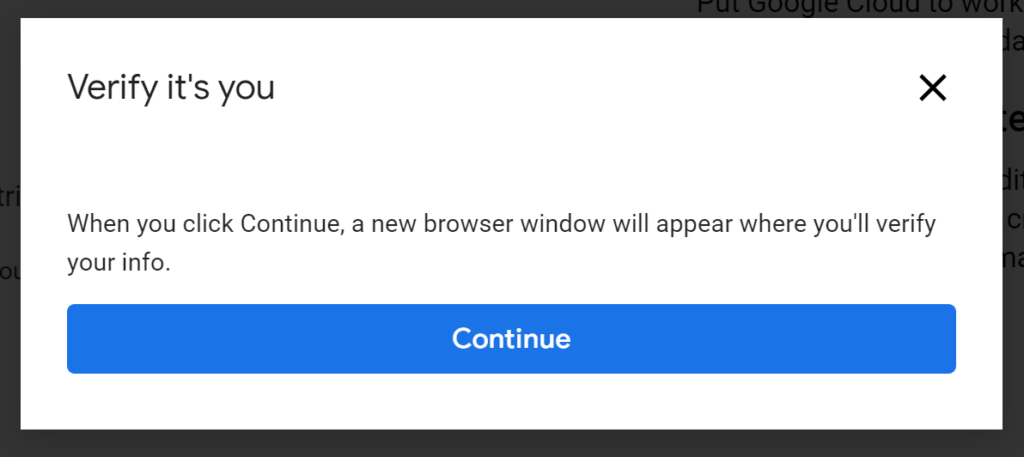
Google will try to charge your bank account for about $1 (or equivalent in your currency), don’t worry, it is a temporary charge, it will be refunded within a couple of minutes or up to 1 day. After that you should return to your main registration page and see:
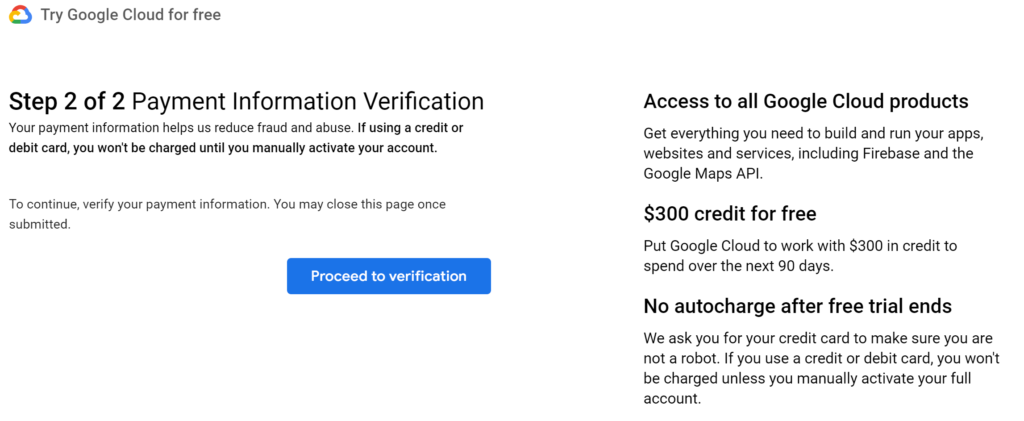
Click on Proceed to verification button, new window in your browser may be opened where you’ll need to enter the number from the Google authorization request, depends on your country and payment method it can be a different verification process/step.
Google Cloud Billing Account
Once all the payment verification steps are complete, you should be redirected to the Google Cloud Console Billing page and see no issues with your billing account:
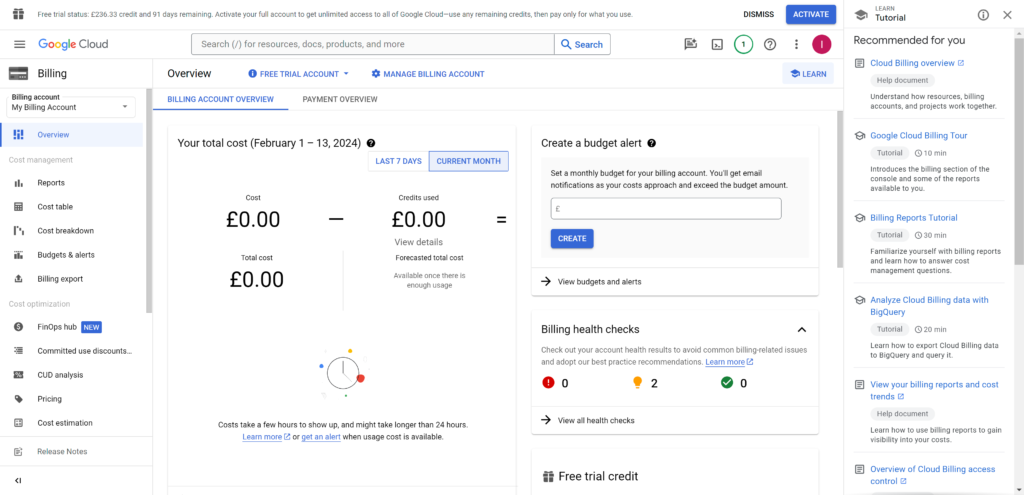
Your Google Cloud Billing account is the same as for Google Account which is created along with your Google Cloud Free Trial account, you can see the details of your Google Payments account here.
You can click on ACTIVATE button in the top banner of the page, to activate the Free Trial for first 12 months and unlock all the features of Google Cloud Platform, if you don’t want to activate it now – no problem, you still have 91 days to activate it, so no rush. However be careful, if you create any resources which are not available for free under the Free Tier plan but are available for free under the Free Trial plan being on Free Trial plan, when the Free Trial plan is ended all your resources will stop until you upgrade to a paid Cloud Billing account, because you are now on a free Cloud Billing account (Free Trial), more details here. I have not activated the Free Trial in my google cloud console so you will see how to manage all of the below with no Free Trial but with Free Tier plan which is not ending after 12 months or once you used all of your Free Trial credits.
More about Google Cloud Billing Account you can read here.
Google Cloud Project
Once the Google Cloud Free Trial account is created Google will create default project for you, something like My First Project, I will create a new project for WordPress which will be called WordPress. Feel free to name your project as you wish in the Google Cloud Console.
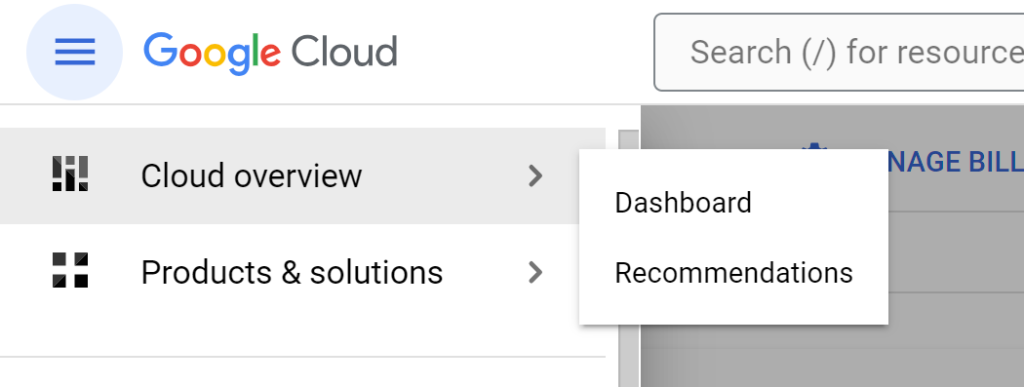
In the top left corner, click on hamburger menu and select Cloud overview:
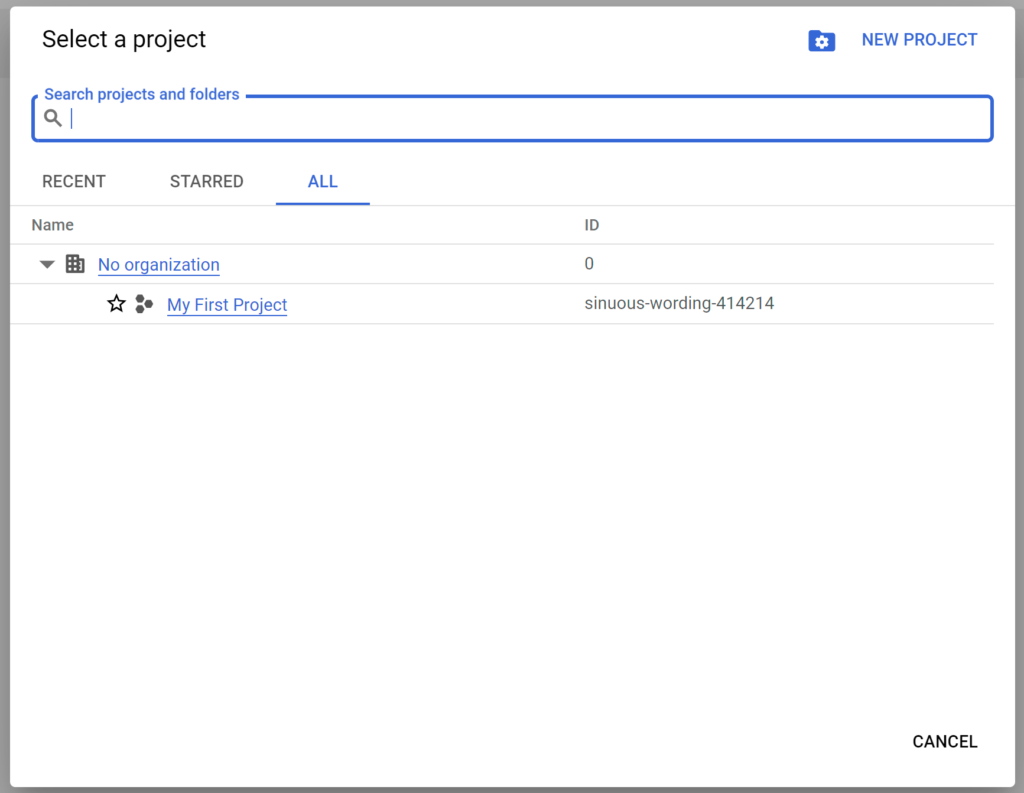
You should see the empty page with the Select a project dropdown at the top of the page:

When you click on it you should see the list of the projects, and there should be only one project – My First Project which Google created automatically for you when the Google Cloud account is created:
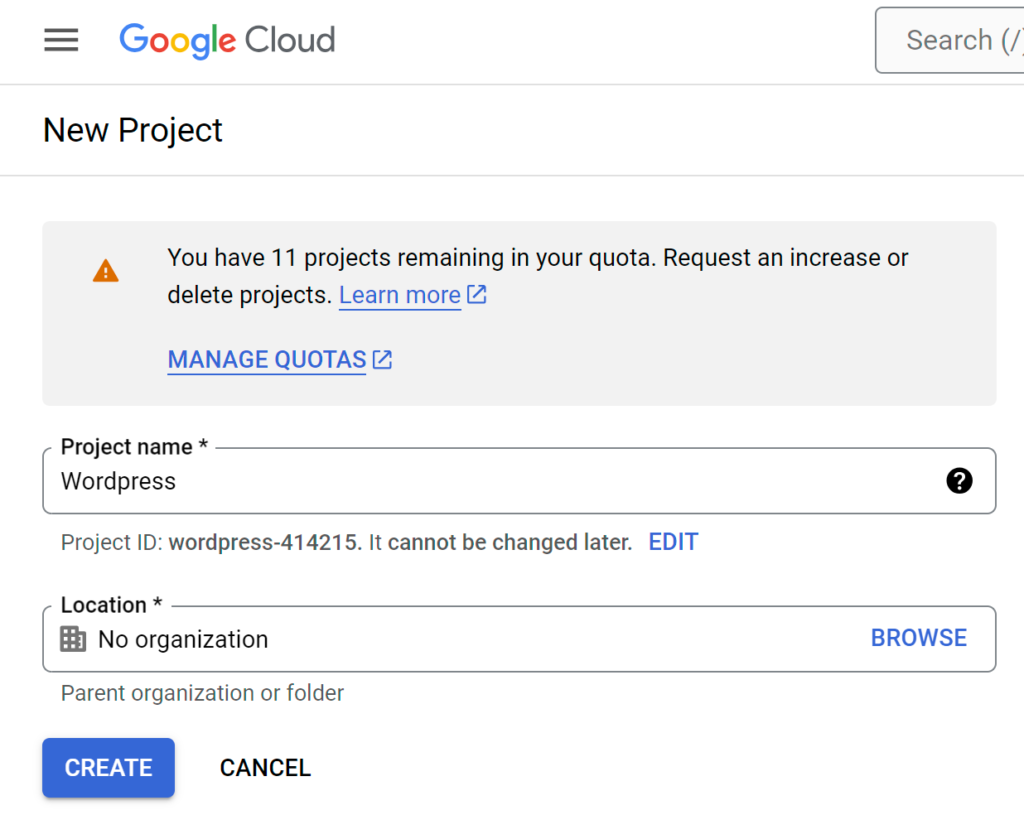
Click on NEW PROJECT button at the top right corner of this pop up, you should see a new form, I’ve entered my project name, the project ID will be generated automatically, it must be unique, you can also try to edit it, make sure it is still unique:
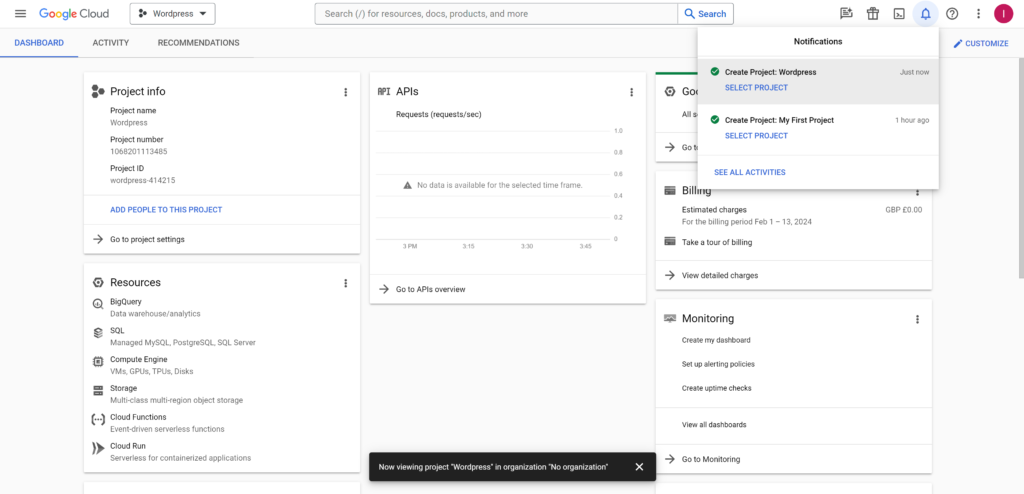
After clicking on CREATE button you should see the Overview page of your newly created project:
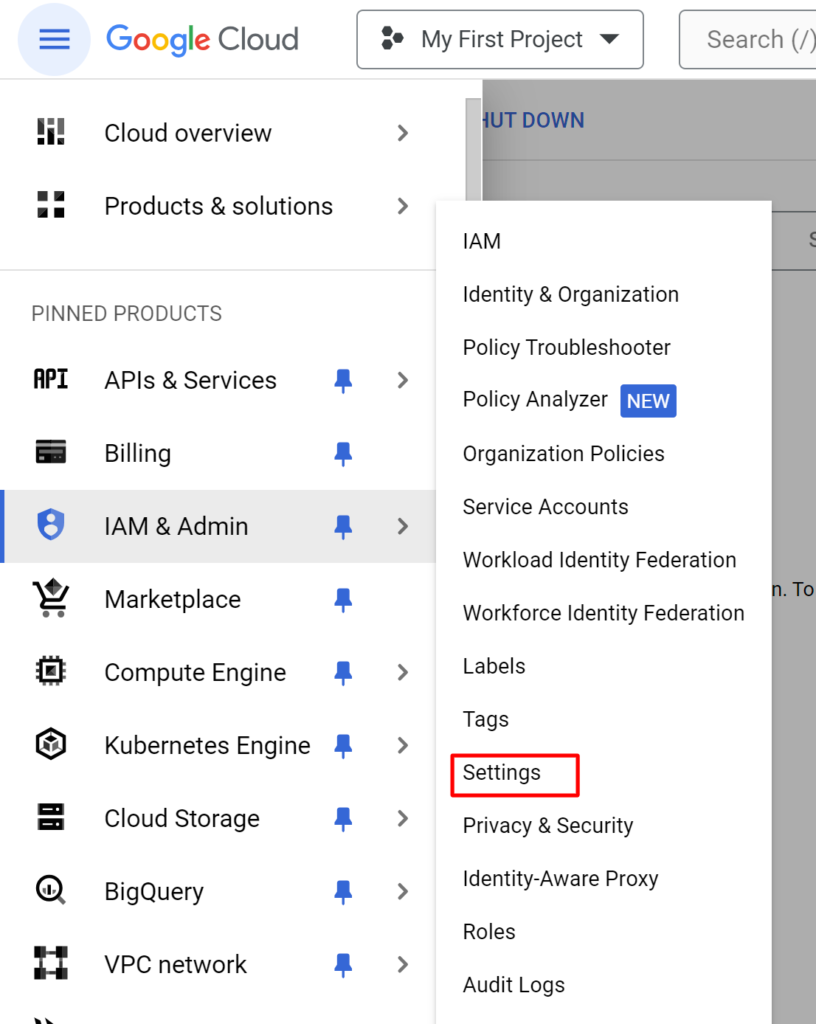
Now you can delete the default project My First Project by going to IAM & Admin > Settings in Hamburger menu:
Click on SHUT DOWN button at the top Settings row of the page:

Make sure you’ve selected the right project to be removed in the top menu:

Once you’ve clicked on the SHUT DOWN button you should see a pop up:
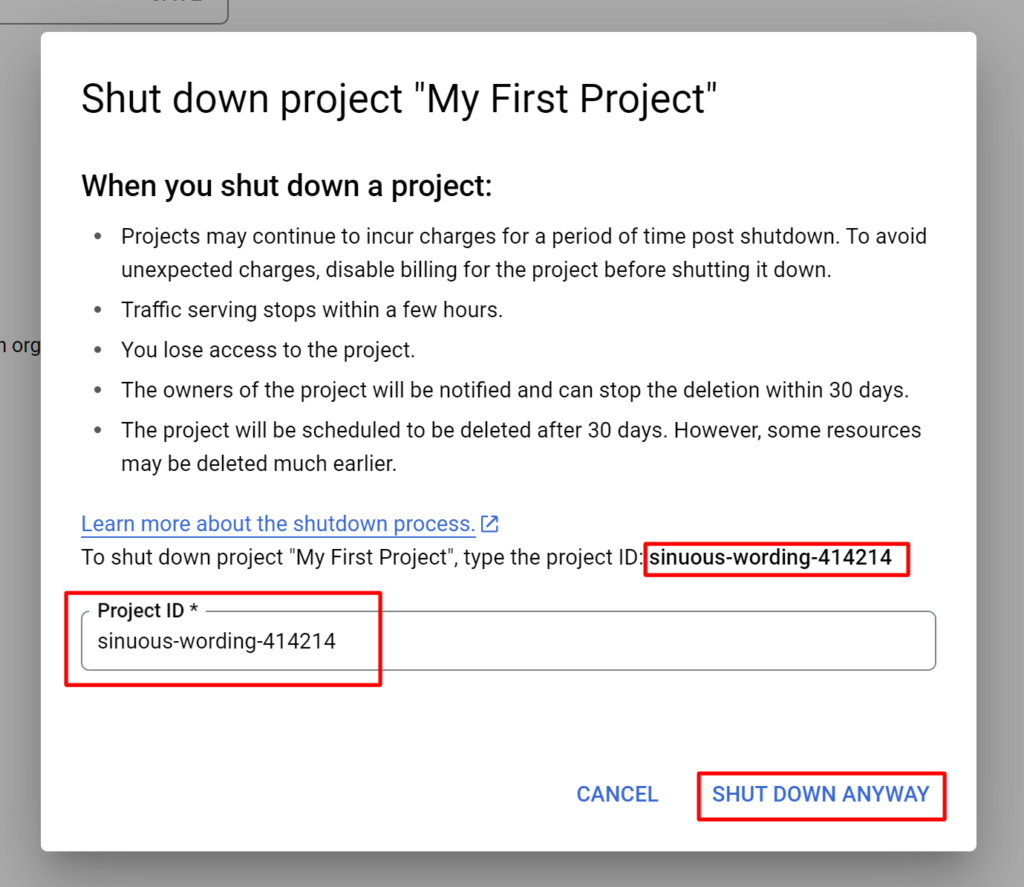
where you will need to type your default project ID (in my case it was sinuous-wording-414214) in the Project ID * field and click SHUT DOWN ANYWAY button. After that you should see a pop up window where Google will inform you when exactly the project will be deleted:
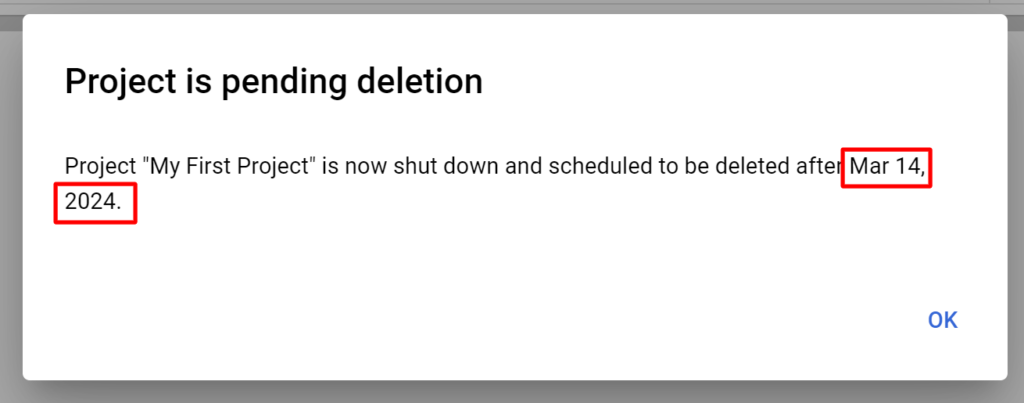
In my case it was after Mar 14, 2024, which is basically after exact 1 month. Until that date you will be able to restore your Google Cloud project if needed.
APIs & Services
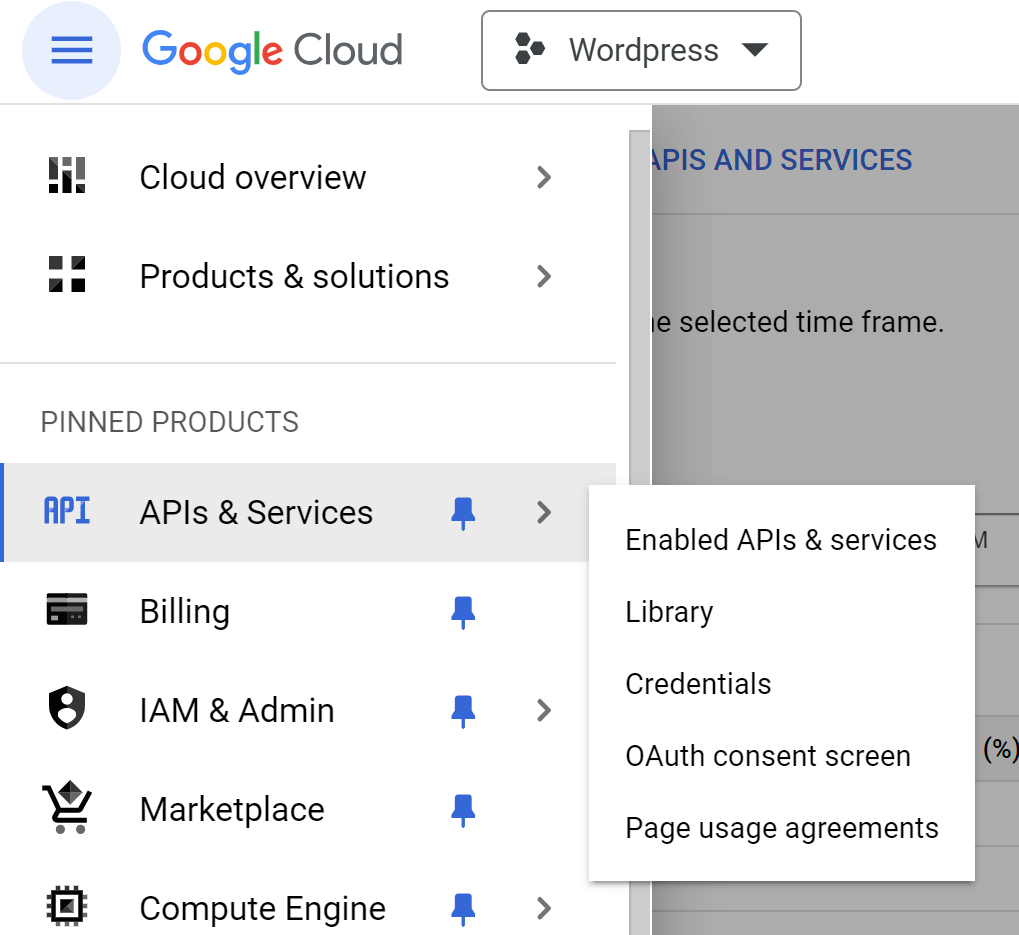
To see and check all APIs & Services enabled for your project currently click on APIs & Services in the top Hamburger menu:
You should see the list of currently activated APIs and Services for the selected project:
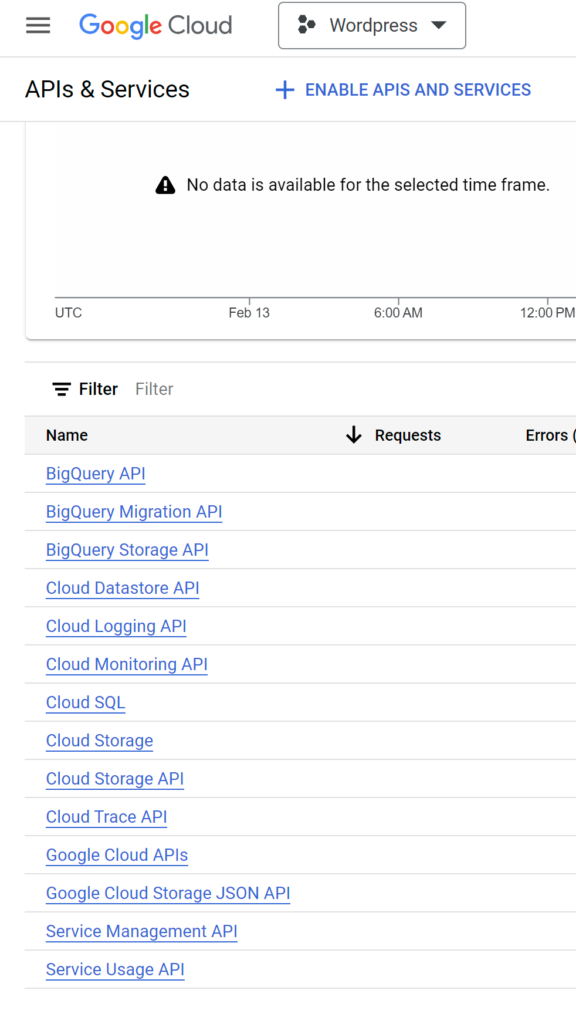
By clicking on any of the listed APIs you will see the Overview and brief statistics of the API usage and be able to find useful information such as Service name, Status, Documentation link etc. On the API Overview page you can also disable API if not needed anymore. Currently you see 14 APIs which are enabled automatically when you created a project in Google Cloud Platform, you may deactivate all of them for now, we will activate the ones we’ll really use.
Google Cloud SDK
You can do whatever you need with the Google Cloud in Google Cloud Console (it is a web User Interface), you should be able to find a lot of code samples on official Google Cloud documentation page, I will be using Google Cloud SDK (to install follow this instruction) in all the code samples in this articles series.
Once the Google Cloud SDK is installed, you should authenticate, run the following commands on your laptop/PC command line:
gcloud auth loginand initialize your project:
gcloud initAt this stage you should be able to start digging the Google Cloud platform and create some resource.
Let’s start with Cloud Run. Part 1.
Leave a Reply
You must be logged in to post a comment.